Project Migration includes transferring project (with all or some of the files used in it) from one location to another. In order to move one project from one location to another, user must transfer “project_name.json” file at least. The other files, used for analysis, can also be migrated, or user can provide it by himself.
In order to migrate project, follow these steps:
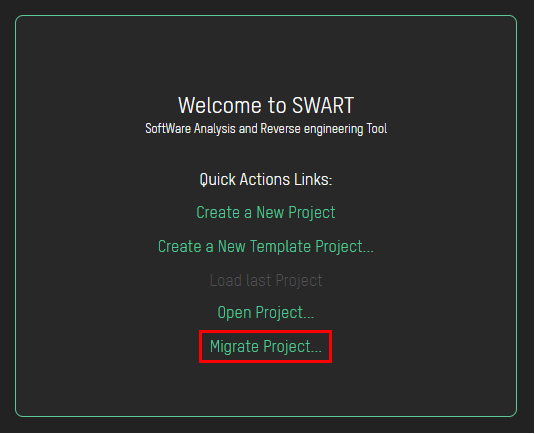
From the Welcome Window, go to option Migrate Project…
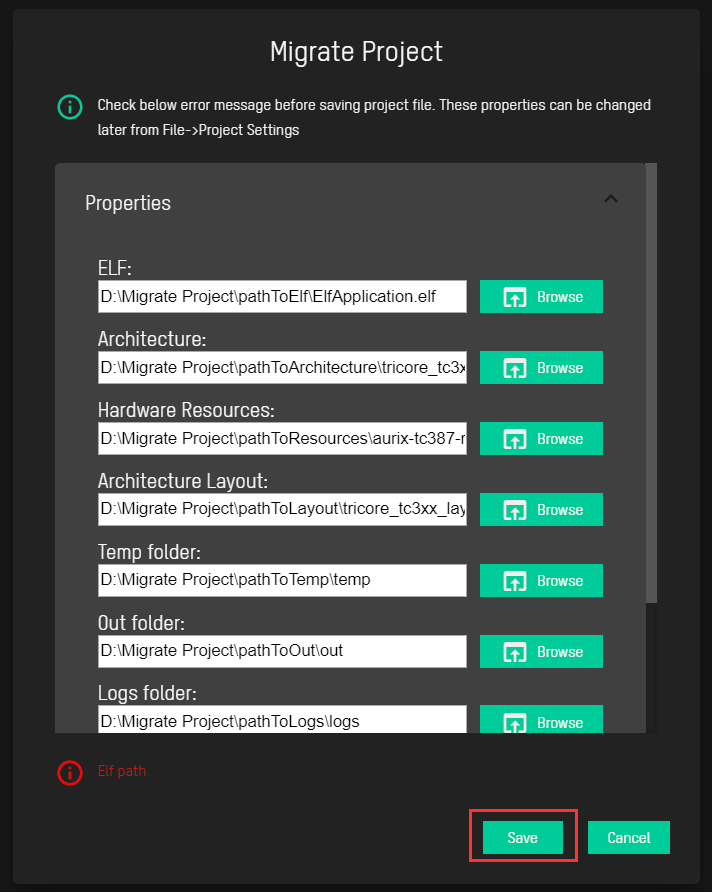
File Explorer will open, and you can select project you want to migrate. After that, following window will show up, with the paths of the location to where you are migrating the project.
If any of the files cannot be found there, error info will be shown below.

You can Browse them from the location they can be found or you can later change the paths from File → Project Settings.
Click on Save button to save the changes and load migrated project.
The other way you can access Migrate Project dialog, is through File → Migrate Project…
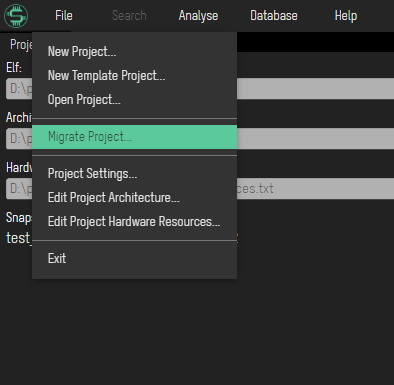
The next steps are the same as from the Welcome Window described above.